Animal Prosthetics
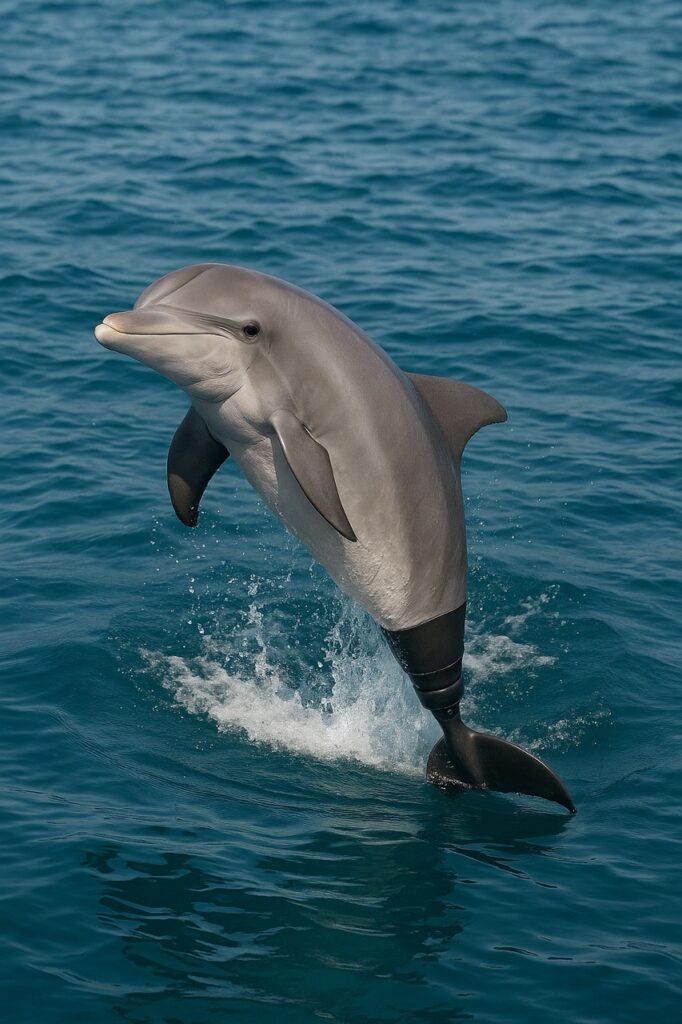
Welcome, future bioengineers! Today, you’ll be diving into the incredible world of animal prosthetics, where creativity meets compassion to help our animal friends. Get ready to design, build, and innovate!
Activity: Paws-itively Possible Prosthetics!
Your Challenge: Imagine you’re part of a team helping animals recover from injuries. Your mission is to design and build a removable prosthetic for a stuffed animal with a simulated injury. This prosthetic should help your animal move, play, and live its best life!
What you’ll need:
- Stuffed animals with “injuries” (e.g., missing a limb, wing, or fin)
- Building Materials: tape (various kinds!), cardboard, pipe cleaners, pool noodles, scissors, paper towel rolls, markers, craft foam, felt, fabric scraps, glue sticks, Velcro, elastic bands.
- Paper and pencils for sketching
Let’s get started!
Get Inspired! After watching the videos above think about:
- What kind of injuries do animals have?
- What materials are used?
- How do the prosthetics attach to the animal?
- How do they help the animal move or function?
- Click here for inspirational photos from previous programs
Meet Your Patient! Each group will get a stuffed animal with a unique “injury.” Carefully examine your animal and its needs. What kind of prosthetic do you think it needs?
Brainstorm & Sketch! This is where your creativity shines! As a team, brainstorm at least three different ideas for your prosthetic. On your paper, sketch out each design. Think about:
- What will your prosthetic look like?
- How will it attach to the stuffed animal?
- What materials will you use for each part?
- How will it help your animal with its specific injury?
Once you have your sketches, discuss as a group and choose the best design that you think will be most functional and comfortable for your stuffed animal.
Build It! Now, bring your design to life! Use the provided materials to build your chosen prosthetic. Work together, share ideas, and problem-solve as you go. Remember to make it removable!
Test & Refine! Once you’ve built your prosthetic, carefully attach it to your stuffed animal. Does it fit securely? Does it seem to help the animal? Try to imagine how the animal would move with it. If it doesn’t quite work, that’s okay! Go back to your design, make adjustments, and improve it. This is how engineers work!
Make it Unique! Now for the fun part – decorate your prosthetic! Use markers, felt, fabric scraps, or anything else you have to make it special. Does it blend in with your animal, or does it have a unique style?
Share Your Innovation! Get ready to show off your amazing work! Each group will present their finished prosthetic to the rest of the class. Explain:
- What kind of injury your stuffed animal had.
- How you designed your prosthetic.
- What materials you used.
- How your prosthetic helps your animal.
Give and Get Feedback! As you listen to other presentations, think about their designs. What do you like about them? How well do they fit and function? Share constructive feedback with your classmates – it helps everyone learn and grow!
Reflect and Connect! Take a moment to think about what you learned today. How could this activity relate to real-world animal care or even human prosthetics? What new questions do you have about engineering or animal science?
Capture Your Creation! Don’t forget to take a picture or video of your fantastic prosthetic and share it with us!

