Part 1: Crime Scene Simulation
Part 2: Engineering and Design
Afternoon Activities
Tie-Dye Science
The Science of Swirls: Chemical Reactions & Color Theory
Have you ever wondered how those vibrant tie-dye patterns magically appear? It’s all thanks to some cool chemistry and clever design! In this activity, you’ll become a textile chemist and a pattern engineer, exploring how dyes interact with fabric and how different folding techniques create unique designs.


Materials You’ll Need:
- Tie-dye kit
- Cotton shirts
- Rubber bands
- Plastic wrap
- Gloves (from the kit or provided)
- Water
Your Challenge:
Design and create a unique tie-dye shirt by understanding the chemical reaction that binds the dye to the fabric and how different folding techniques manipulate the color application.
Activity Steps:
1. Prepare Your Fabric: The Chemical Catalyst
- Your tie-dye kit includes soda ash (sodium carbonate) in the premix bottle. This isn’t just for fun; it’s a super important chemical!
- Why soda ash? Cotton fabric needs to be treated with soda ash before dyeing. Soda ash creates a high pH (alkaline) environment on the fabric. This alkaline environment is essential for the chemical reaction that allows the dye to permanently bond to the cotton fibers. Without it, the dye would just wash out!
2. Design Your Pattern: Engineering with Folds
- This is where your engineering skills come in! The way you fold and bind your shirt will determine your final pattern. Each fold creates a resist, preventing dye from reaching certain areas.
- Choose a technique:
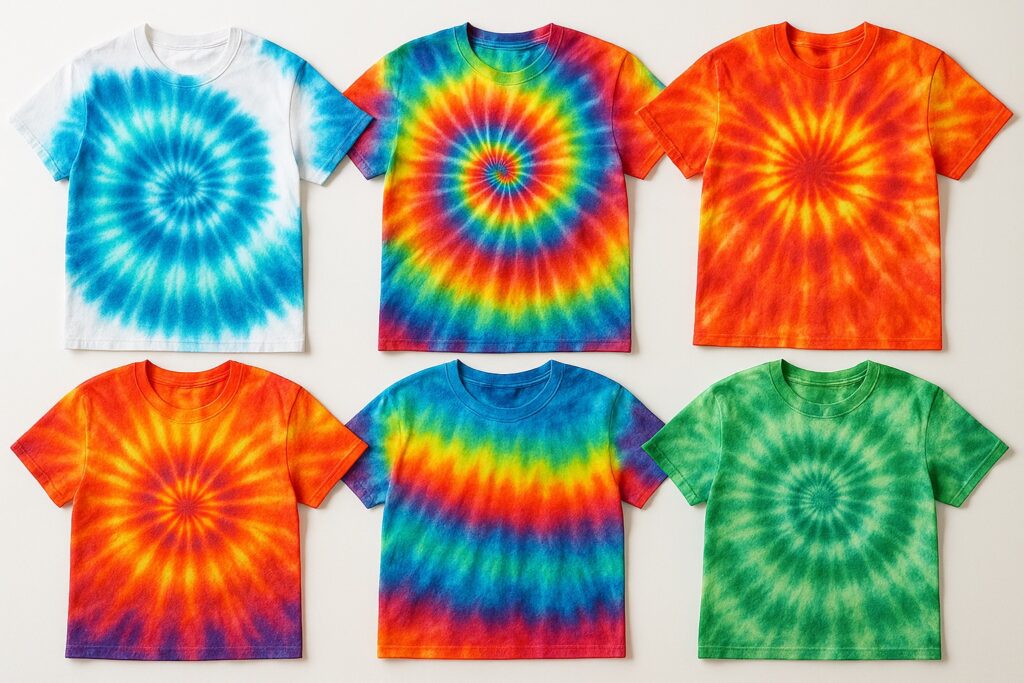
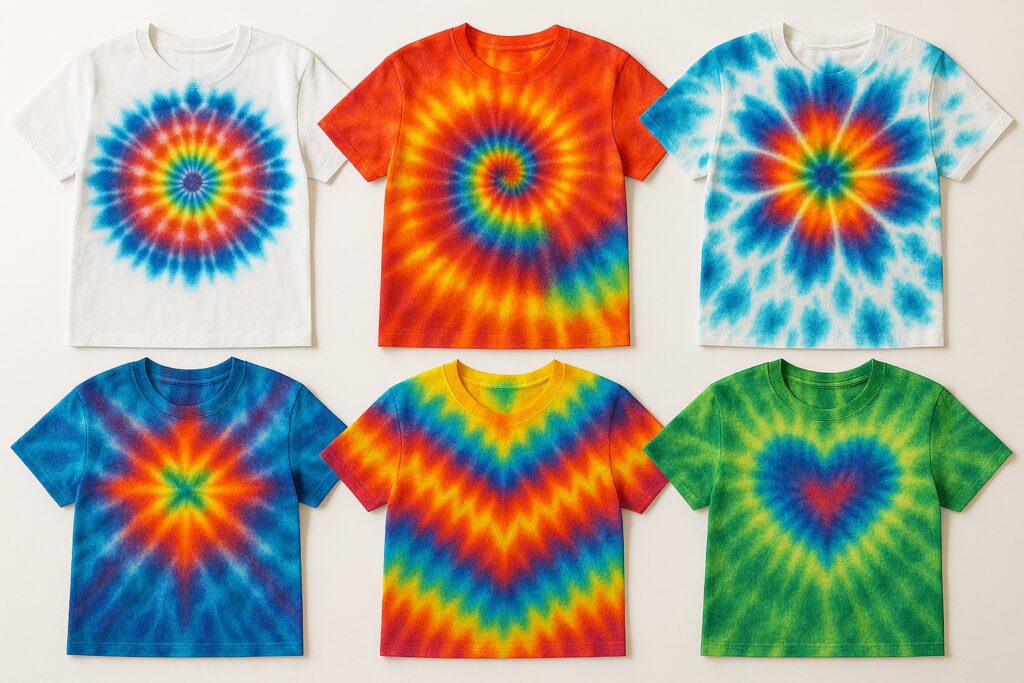
- Spiral: Lay your damp shirt flat. Pinch the center and twist clockwise until the entire shirt forms a flat spiral. Secure it with 3-4 rubber bands, crossing through the center to divide the shirt into pie-like wedges.
- Crumple: Simply scrunch your shirt into a random ball. Secure it tightly with several rubber bands in various directions.
- Stripes/Accordion: Fold your shirt like an accordion (back and forth) in vertical or horizontal strips. Secure the folds with rubber bands at intervals to create stripes.
- Circles: Pinch small sections of fabric and gather them up. Secure the base of each gathered section with a rubber band to create small “cones.” These will form circles in your design.
- Think about the forces at play: How will the tension of the rubber bands and the way you fold affect where the dye goes and doesn’t go?
3. Apply the Dye: Color Theory in Action
- Safety first! Put on your gloves to protect your hands from the dye.
- Apply the dye: Squeeze the dye onto different sections of your folded shirt.
- Color mixing: How will different colors interact when they bleed together? What new colors will you create? This is where your understanding of color theory comes in! For example, mixing blue and yellow will create green.
- Saturation: How much dye do you need to apply to get a vibrant color versus a lighter shade?
- Consider your design: For a spiral, you might apply different colors to each “pie” wedge. For a crumple, you can apply colors randomly over the surface.
4. The Waiting Game: Time for the Reaction
- Once you’ve applied all your dyes, carefully wrap your shirt in plastic wrap. This helps keep the fabric damp and the temperature consistent, which is crucial for the dye to react properly with the soda ash-treated fabric.
- Let it sit: Place your wrapped shirt in a warm spot (but not hot, as too much heat can degrade the dye). Let it sit for at least 12-24 hours. The longer it sits, the more vibrant and permanent your colors will be because the chemical reaction has more time to occur.
5. Reveal Your Masterpiece: Rinse and Wash
- Rinse: Wearing gloves, unwrap your shirt and rinse it thoroughly under cold water in a sink or tub. Keep rinsing until the water runs clear and no more excess dye is coming out. This washes away any unreacted dye.
- Wash: Once the water runs clear, carefully remove the rubber bands. Wash your shirt on its own in a washing machine with a small amount of detergent using cold water. This helps set the dye and remove any final residue.
- Dry: Hang your shirt to dry on a line or drying rack.
Reflect and Share:
- What chemical reaction happened to make the dye stick?
- How did your folding technique influence your final design?
- If you were to do this again, what would you change about your design or dye application based on what you learned?
- Can you think of other real-world applications where understanding chemical reactions and material science is important? (Hint: Think about clothing manufacturing, painting, or even cooking!)
This activity gives you a hands-on look at textile chemistry, material science, and design engineering, showing how creative expression and scientific principles go hand-in-hand!
