Introduce the air tank, solenoid, etc -show picture or the sample air tank
Build the Air Cannon Controller
Carefully follow the instructions in the video below to build an air cannon controller with your team.
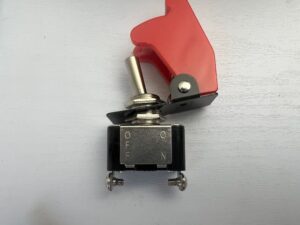
Wiring the Safety switch is counterintuitive. Wire from the fuse holder to the “off” side of the switch. Then attach 2 ring terminal wires from the “on” side of the switch -one goes to the positive leg of the LED, the other to the launch button.
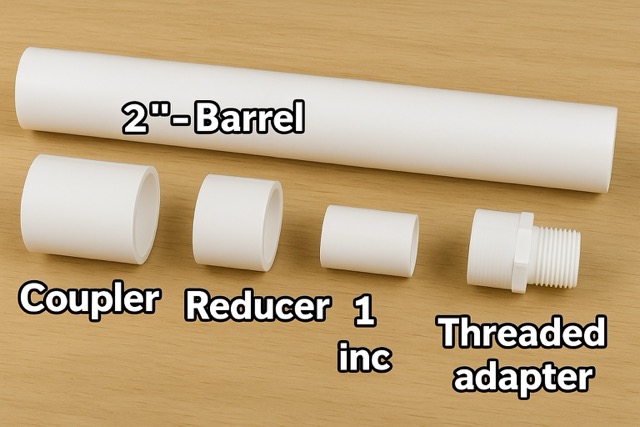
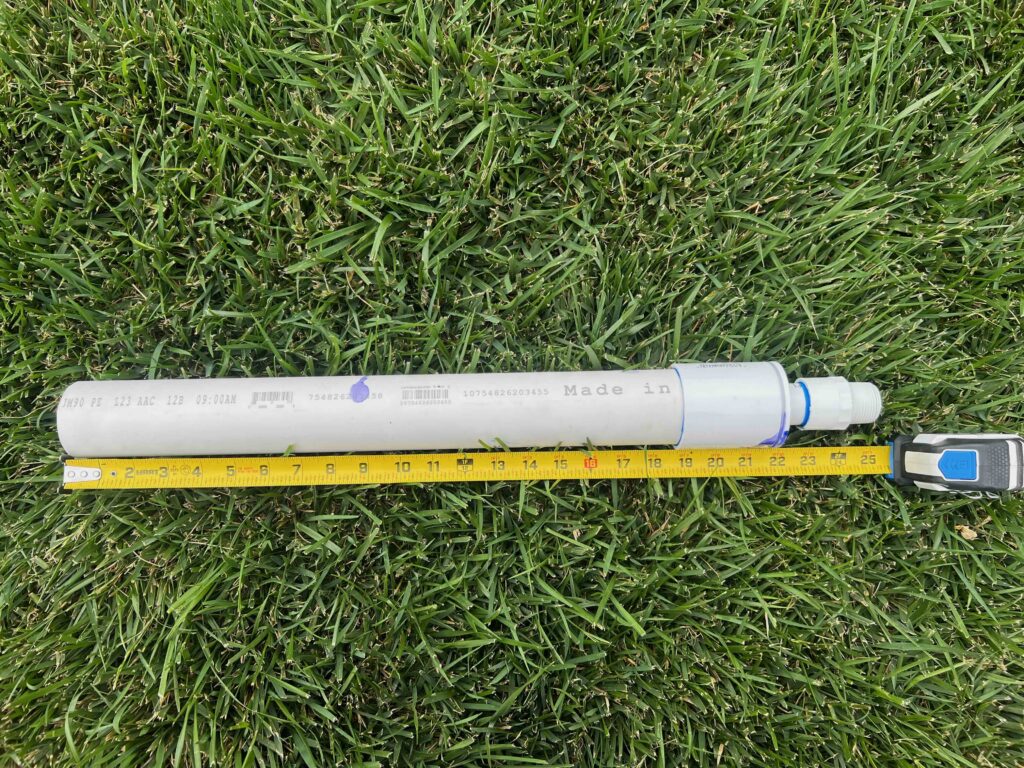
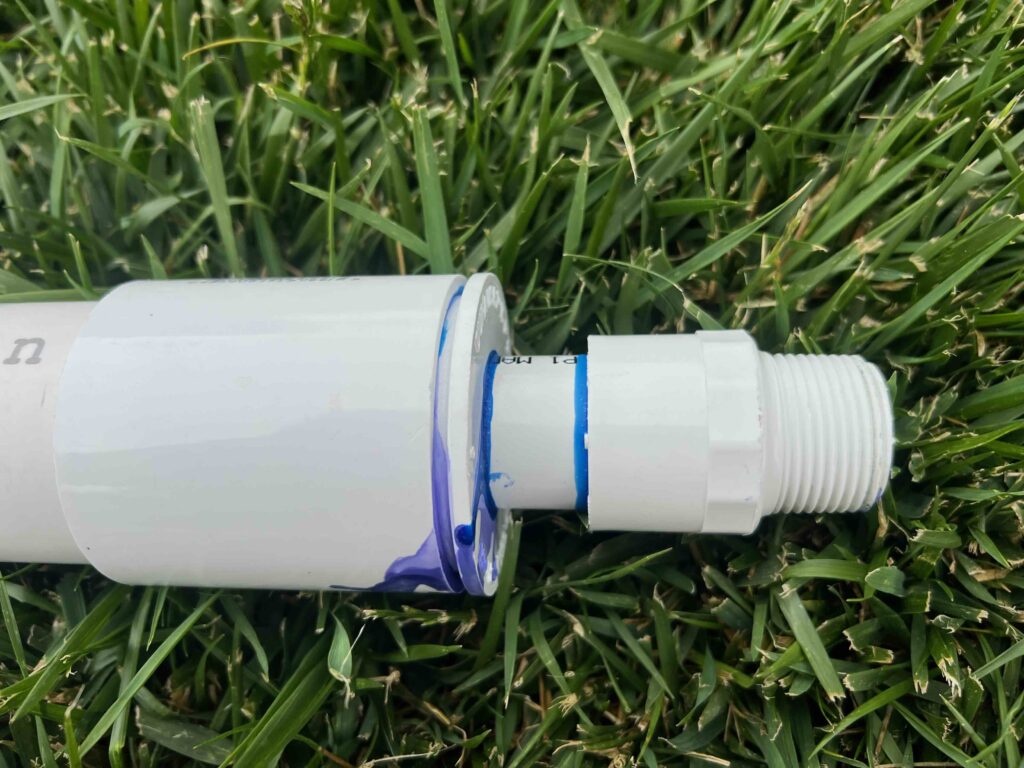
Build the Air Cannon Barrels
Cut the 2″ PVC for the barrels to the following lengths, Each group should cut and glue one barrel to be shared with the class :
10″, 15″, 20″, 25″, 30″, 35″
Watch the a short portion of video below to learn how to cut and glue the PVC. You will need:
Install a barrel on the air cannon.
Time to Launch!
Safety.
Be CAREFUL, the high pressure can be dangerous. If you are unsure about using it, please communicate with your teacher.
Steps for a safe launch
Make sure your teammates are a safe distance from the air cannon. (Use clear signals or markers for where it’s safe to stand.)
Load your projectile while the air tank is empty. (Never load while under pressure.)
Double-check that everyone is safely away from the air cannon. (No one should be in front or near the launch area.)
Pump the air cannon pressure tank to your desired pressure. Start with 20 PSI. (Use the gauge to monitor pressure—do not exceed the maximum limit.)
Walk back to the Safe Space, then attach the launch controller and insert the battery. (Keep the controller pointed away from people and the ground.)
Countdown: 3, 2, 1… Launch!
Review
What might affect how far the projectile flies?
Projectile Design
Watch the video below to design a straw rocket. Improve your design for best flight, furthest flight, best looking rocket.