Days 1 & 2 (Game Control)

Instructions (Part I): Open your MakeyMakey kit and and carefully lay out all of the materials. See the below image. 

Instructions (Part II): Carefully view the below MakeyMakey introduction video. 

Instructions (Part III): Carefully study the below video to learn how to begin using your MakeyMakey. 

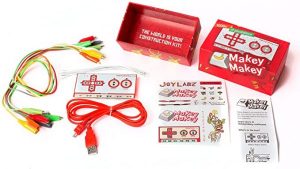
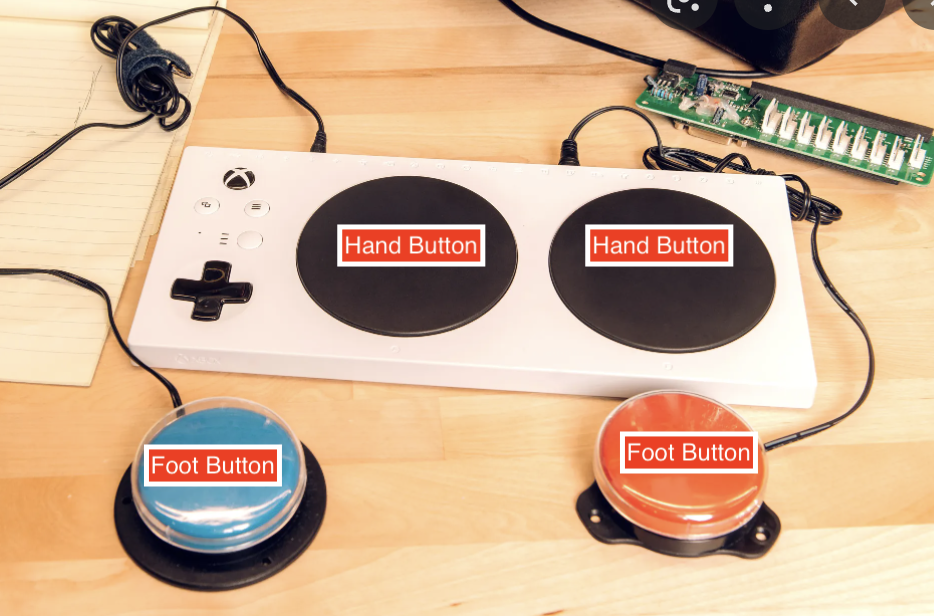
Instructions (Part IV): Using the above video as a guide, and the materials in your kit, build a MakeyMakey controller for the Scratch game you created last week. Test your controller by playing your game with it a number of times and noting any revisions that need to be made. 

Instructions (Part V): Carefully view the below videos to learn about the adaptive controller build by Xbox.  

Instructions (Part VI): The image below shows one configuration of the Xbox adaptive controller designed for an individual with Dyskinetic Cerebral Palsy (Click here to observe hand control of an individual with Dyskinetic Cerebral Palsy). This configuration leverages two larger buttons that are controlled by the hands, and two larger buttons controlled by the feet. Carefully review the below video and hypothesize how you might create an analagous controller (with hand and foot conrol) for your Scratch game using your MakeyMakey and related materials. 

Instructions (Part VII): Begin the process of building your version of the above Xbox adaptive controller to play the Scratch game you created. 

Instructions (Part VIII): Record and upload video of you using your MakeyMakey Xbox adaptive controller to play your Scratch game, again using limited hand motions to simulate Dyskinetic Cerebral Palsy. Type your first name in the “Subject” area. A QR code is provided below for ease of upload.

Made with Padlet