Days 2-4 (Raspberry Pi 3D Model Application cont.)

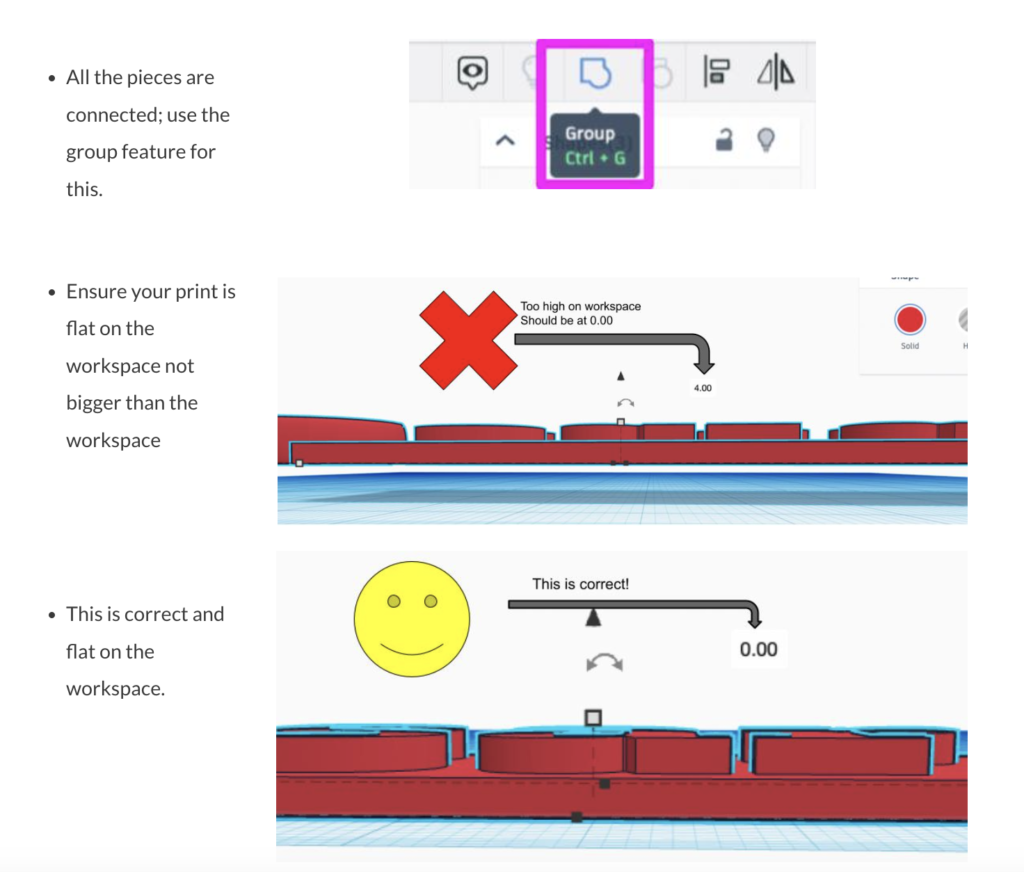
Instructions (Part I): Work in Tinkercad to build your 3D Model outlined in your sketch. Pay special attention to measurements as you will be printing and applying your model. Additionally, please note the following before exporting your files for printing.  

Instructions (Part II): When done, “Export” your model as an “STL” file and share it below for printing. Type your first name in the “Subject” area.  

Made with Padlet

Instructions (Part III): While waiting for your print, rebuild the Raspberry Pi project you will be applying your printed 3D model. 

Instructions (Part IV): Apply your print to your model making note of any revisions needed. If revisions are needed, edit your Tinkercad file and submit to the board above in “Part II” for printing. 

Instructions (Part V): Once successful, take a short video or picture of your 3D model applied to your Raspberry pi project and upload it below. Type your first name(s) in the “Subject” area. A QR code is provided for ease of upload. 

Made with Padlet