Instructions (Part I): Carefully view the below video to learn about the Micro:bit.
Instructions (Part II): Click here, then click “New Project” and type “BatteryTester” for your project name, to enter the micro:bit coding environment. Carefully follow along with the below video to learn more about how to code your Micro:bit by practicing with the simulator.
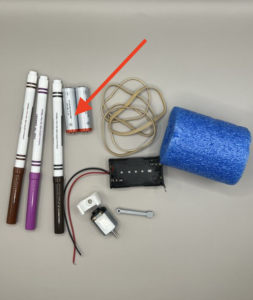
Instructions (Part III): Delete any code you built in “Part II” above in preparation for your “BatteryTester” code. In this experiment you will be using your Micro:bit to test the voltage of the batteries in your Scribbling Robot kit. See image below. Click here and follow along carefully with the video for an overview of this experiment and instructions on writing your code.
Instructions (Part IV): Carefully follow along here to learn how to transfer your “BatteryTester” code onto your Micro:bit. Once loaded, test the voltage of each battery as shown in the previous video. You might find the below video helpful as well.
Instructions (Part V): Now that you have tested your batteries, it’s time to build your Scribbling Robot! Watch the below video for an example of how a a similar Scribbling Robot performs its task! (Note: You will be using a single motor to move your robot rather than an electric toothbrush). Click here for another example of a Scribbling Robot in motion.
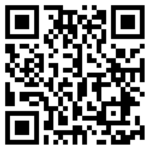
Instructions (Part VI): Using your materials and the images found here as a guide, create your Scribbling Robot. When done, secure a large piece of white paper to the ground, and let your Robot create its own unique pattern! Once successful, take a clear picture of your robot’s pattern, similar to the one shown here, and upload it below. Type your first name in the “Subject” area. A QR code is provided for ease of upload.