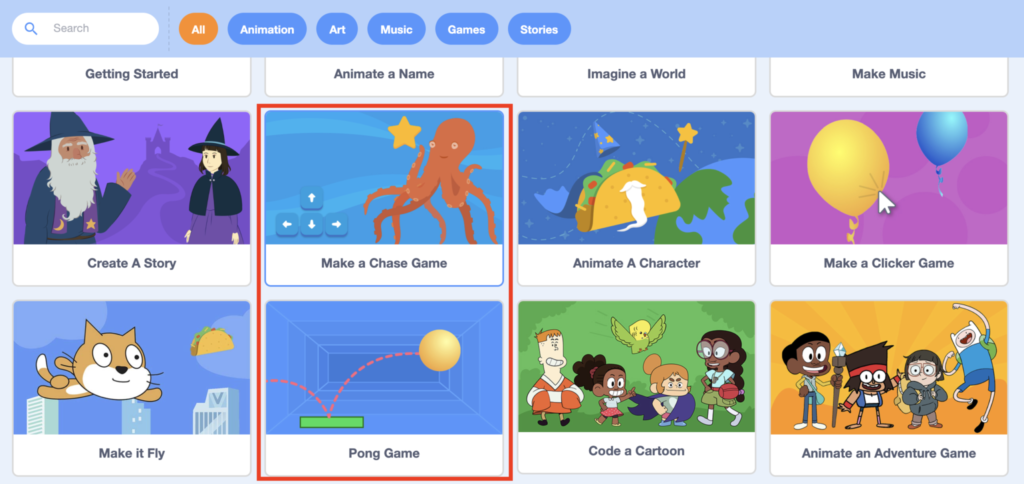
Instructions (Part I): Click here and make an account with Scratch. Once logged in, click “Ideas” on the main menu then click the “Choose a tutorial” box below. Follow along with the tutorials to learn how to create the “Chase” game or the “Pong” game. See screenshot below.
Instructions (Part II): Carefully follow along with the below video to create your own “jumping game” in Scratch.
Instructions (Part III): Now that you have an introduction to Scratch,carefully view the video below to understand the type of advanced game you will be creating.
Instructions (Part IV): Carefully follow along with this document to build your own Scratch-Micro:bit Racing Game as shown in the video above. You will only be writing the code in this step. Controlling your car using the Micro:bit will be the focus of the next step.
Instructions (Part V): Carefully follow along with this link, and view the below video, to learn how to connect your Micro:bit to your Scratch program so it can be used as a controller for your car.
Instructions (Part VI): Make any necessary edits to your game until it works properly. Experiment with your Micro:bit until you can control the car consistently.
Instructions (Part VII): Make at least 10 modifications to your game. Examples include altering the Micro:bit control features to include button presses, changing sprite aesthetics, altering scoring mechanisms, changing allotted game time, etc.
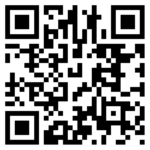
Instructions (Part VIII): Upload a clear video of you playing your modified Scratch game with your Micro:bit. Include a public link to your Scratch game in the “Write something incredible…” area. Type your first name in the “Subject” area. A QR code is provided for ease of upload.