
Module 1: Flight School
Your mission: set up your APEX drone, get to know how it works, and fly it by hand through your own obstacle course. You will learn to hover, turn, and steer with control, and connect what you do today to real STEM careers. No experience needed. Let's get you in the air.
- Carefully unbox your drone and controller.
- Insert two AAA batteries into the back of the controller.
- Use the USB-C cord to charge the drone battery. The drones come with 2 batteries — be sure to charge both!
A full charge takes about 60 minutes and gives you roughly 9-10 minutes of flight. That is why you charge both batteries — you will swap them all day.
While the batteries are charging, watch this:
Scan the QR code or use the board below to share your ideas.
Before you fly it, get to know it. Look at the drone in your hands and match it to the picture. Find each part.

- Camera — at the front. You can tilt it up and down by hand to aim it. Try it gently.
- 4 propellers — the spinning blades that lift the drone.
- 4 prop guards — the rings that protect the propellers (and everyone nearby).
- Battery — slides into the body. The power button and green charge lights are on it.
- Blue LED — on top. It tells you the drone's status while pairing.
Flip a propeller over. On the back of every leaf is a letter: A or B. That letter tells you which direction it spins.
- A spins counterclockwise.
- B spins clockwise.
Look at your drone: propellers next to each other are different letters, and propellers diagonal from each other are the same letter. That opposite spin is what keeps the drone steady instead of spinning itself in circles.

Crashes happen — that is part of learning to fly. If a propeller cracks or bends, you can replace it. The one rule that matters:
Replace an A with an A, and a B with a B. Put the wrong letter on and the drone will not fly right. Use the little wrench to loosen it, swap in the same-letter propeller, and tighten.
To swap a cracked prop guard, do not pull it straight down. Push in the part attached to the motor and it pops right off.
Your mission: quickly set up and manually fly your APEX drone, focusing on flight challenges and understanding what it can do. Along the way you will practice hovering, turning (yaw), and directional flight, explore features like Headless Mode and different speeds, and connect it all to real STEM careers.
- APEX drone and its controller
- Two (2) AAA batteries for the controller
- Your smartphone (iOS or Android)
- A safe, open space to fly
- User guide: EchoDrone User Guide
- Drone app — iOS: TSpeed-7
- Drone app — Android: TSpeed-7 (Google Play)
Make sure your drone battery is fully charged and slide it onto the drone body. Place the drone on a flat, level surface. Power on the controller, then the drone. To pair the first time, move both joysticks to the lower-right corner and hold until the blue LED changes from a fast flash to a slow flash. Pairing only needs to happen once.
Practice these key moves in a clear space before you build a course. Small, gentle stick movements are the secret to control.
- Altitude (up/down) — left stick, up/down
- Yaw (rotate left/right) — left stick, left/right
- Pitch (forward/backward) — right stick, up/down
- Roll (slide left/right) — right stick, left/right
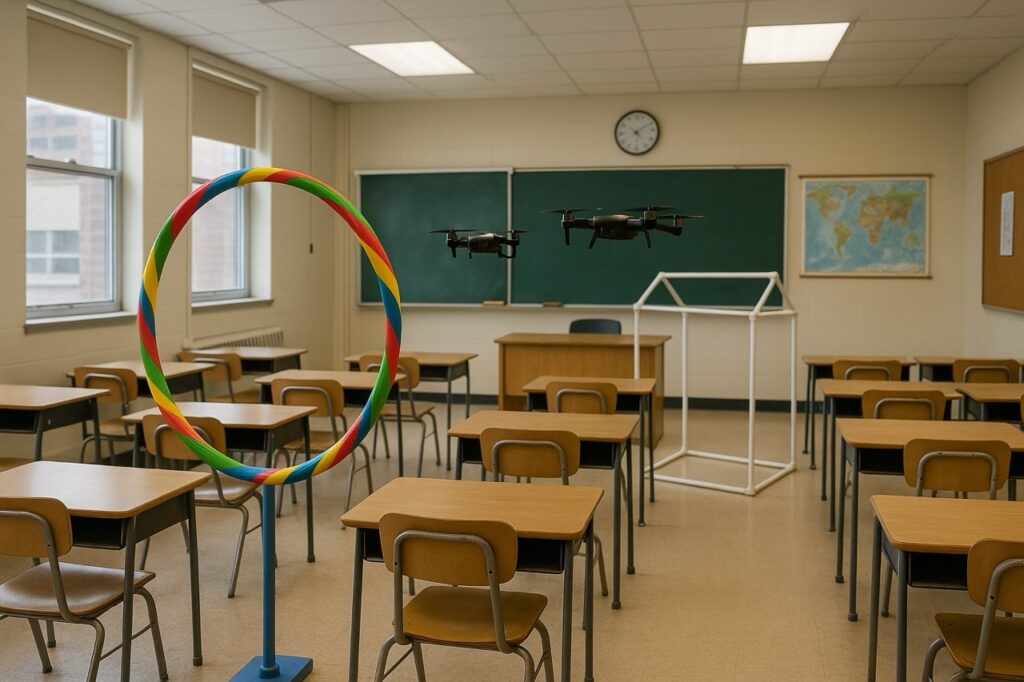
Have someone safely hold a hula hoop upright. Fly slowly through it, keeping steady altitude and smooth forward movement. Try different angles. Then lay a hoop flat and practice taking off, hovering above it, and landing gently inside.
Fly to tabletop height and hold it steady. Drop to chair-seat height and hold. Then set 2-3 markers a few feet apart and weave the drone around them in a slalom, using smooth roll and yaw.
In an open spot, make slow, controlled 90-degree and 180-degree turns using only yaw (left stick, left/right). Try to keep the drone in the same spot as it turns.
Your goal: design a safe, fun obstacle course out of classroom items, then fly it. Work as a team.
- Clear communication — use signals like "Drone in course!" or "Pilot ready!"
- One at a time — only one drone flies the course at a time.
- Eyes on the drone — always keep it in sight.
- Crash plan — losing control? Throttle down (left stick all the way down) immediately.
- No-fly zones — mark areas where drones should never go, like near people waiting their turn.
Get creative with what is in the room. Think about how to use:
- Hula hoops (upright or flat?), chairs (under, over, around?), tables, tape lines on the floor
- Sections that test precision (through hoops), altitude control (under tables), yaw and roll (sharp turns around chair legs), and a gentle landing on a target
- An "easy path" and a "challenge path," with a clear start, finish, and flow
On paper, draw a map of your course. Label the obstacles and show the intended flight path. As a team, ask: Is it safe? Is it challenging? Is it fun? Adjust, get it approved, then set it up and fly.
The control you just practiced — steady hover, clean turns, precise landings — is the foundation of every drone job. Licensed drone pilots fly for agriculture, film, construction, search-and-rescue, and public safety. The on-ramp is real and close to home: an FAA Part 107 remote pilot certificate, plus drone and computer-science programs at community colleges and at UC Merced, open the door for first-generation students. You started today.
You charged it, learned its parts, and flew it through a course you designed yourself. That is a real skill you did not have this morning. Next up: Module 2 — Operation Search and Rescue.