Days 2 & 3 (Game Revision & Control)

Instructions (Part I): Open your game program in Scratch. Reflect on what you learned on Day 1 and experiment with making some/all of the following revisions to your game: 

  • Change the background. 
  • Make “flip” function more realistic/complicated. 
  • Add additional trick buttons.
  • Change/add sound effect. 
  • Change/alter Drone sprite. 
  • Add a game element with scorekeeping. 

Instructions (Part II): Copy a public link to your revised Scratch Tello RC Drone Flight Game and paste the link below.  Click here for instructions on making your game public. You will need to verify your email address with Scratch in order to share your project publicly. Type your first name in the “Subject” area. Once all programs are uploaded, spend some time interacting with each and provide a few lines of written feedback in the comment section. 

Made with Padlet

Instructions (Part I): Open your MakeyMakey kit and and carefully lay out all of the materials. See the below image. 

Instructions (Part II): Carefully view the below MakeyMakey introduction videos. While viewing the videos, imagine what you might like to create using your MakeyMakey.

Instructions (Part III): Carefully study the below video to learn how to begin using your MakeyMakey as a controller. 

Instructions (Part IV): Carefully study the below video to learn how to incorporate additional keys into your MakeyMakey controller using the pins on the backside of the board. 

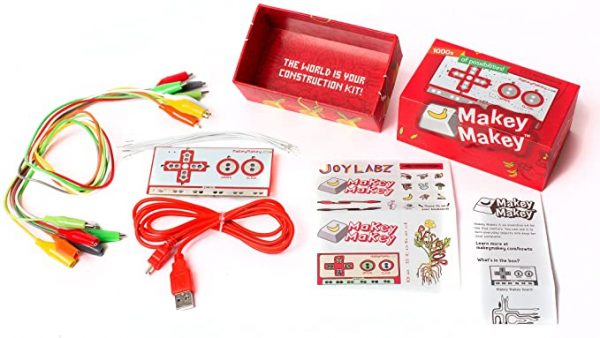
Instructions (Part V): Now that you have had practice using the MakeyMakey, your challenge is to build a MakeyMakey controller for your Tello RC Drone Flight Game using the materials provided (aluminum foil, cardboard, jumper cables, etc.) and any other materials you have available. Your controller must meet the following criteria: 

  • Hands-Free earth wire (e.g., connected via bracelet, etc.). Click here for an example. 
  • Includes buttons for left, right, up, hover, flip, and an additional trick programed into your simulator. 
  • Controller components contained securely on a piece of cardboard or other material. Click here for an example. 
  • Functionality of each button is labeled on the controller visibly. Click here for an example. 
  • No consumable products (e.g., Play-Doh, food, etc.) are used as conductive materials. Click here for an example. 

Instructions (VI):  Upload a clear image of the progress you have made on your controller thus far. Type your first name in the “Subject” area. A QR code is provided below for ease of upload. 

Made with Padlet

Instructions (VII):  Carefully view the below video as a class. 

Instructions (VIII):  Test your controller to ensure that all the buttons work. Take a clear picture of your entire finished controller and share it below. Also take a ~ 2- second video of you using controller. Type your first name in the “Subject” area. Upload your picture and video as two different posts. A QR code is provided below for ease of upload. Once all images and videos are uploaded, spend some time reviewing each controller and provide a few lines of written feedback in the comment section.

Made with Padlet