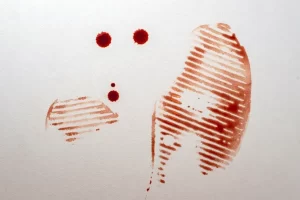
Instructions (Part I) – Static Drops: Put on gloves and safety glasses. Obtain a dropper full of fake blood. Hold the dropper 12 inches above your paper. Drop 5 drops at a rate of 1 drop/sec at 3 different locations on your paper. Label your paper “Static Drops” on the back.

Instructions (Part II) – Moving Drops: Put on gloves and safety glasses. Repeat the above process but move your dropper slowly across the paper as you drop. Do this at three different locations starting at the bottom of your paper. Label your paper “Moving Drops” on the back.
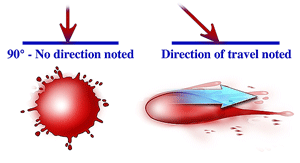
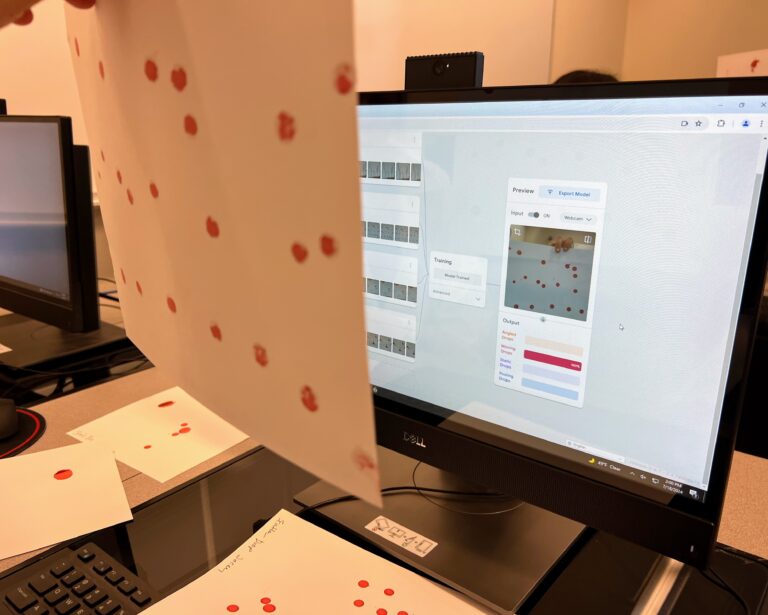
Instructions (Part III) – Angled Drops: Put on gloves and safety glasses. Obtain a dropper full of fake blood. Hold the dropper at a ~ 45 degree angle at the top. Drop 5 drops at a rate of 1 drop/sec at 3 different locations across the top of your paper. Label your paper “Angled Drops” on the back.


Instructions (Part IV) – Pooling Drops: Put on gloves and safety glasses. Obtain a dropper full of fake blood. Hold the dropper 12 inches above your paper. Drop at a rate of 1 drop/sec over one single location. Label your paper “Pooling Drops” on the back.

Instructions (Part V) – Body Impact Transfer: Put on gloves and safety glasses. Using splatter shields according to the instructions and image below. Soak a sponge in fake blood and place a sponge in the center of the paper. Using a mallet smack down the sponge with force, causing it to splatter onto the collection papers on the boards surrounding the paper (see image below). Once done, remember to label the papers “Body Impact Transfer” on the back. (Note: The sponge is simulating a portion of a body)
Splatter Shield Setup: Warning! Blood spatter is messy and will stain. Tape 2 pieces of poster board together to create a blood spatter shield. Cut an opening for your arm to reach inside to smash the blood. The opening should be approximately 9” high by 7” wide. Next you’ll tape 3 pieces of paper, one on each side and one in the front to collect the blood spatter. See images for example.


Instructions (Part VI) – Shoe Transfer: Put on gloves and safety glasses. Obtain a dropper full of fake blood and an old shoe provided. Spread blood over the bottom of the shoe. Make three imprints from the shoe on your paper. Do not add additional blood after each imprint. Label your paper “Shoe Transfer” on the back.

Instructions (Part VII) – Fabric Transfer: Put on gloves and safety glasses. Repeat the above process but transfer an imprint from a piece of clothing fabric that is provided at three different locations. Label your paper “Fabric Transfer” on the back.

Instructions (Part VIII) – Smear Transfer: Put on gloves and safety glasses. Obtain a dropper full of fake blood. Spread blood over one of your gloved hands. Make a smear but rubbing your hand from the bottom to the top of your paper. Label your paper “Smear Transfer” on the back.


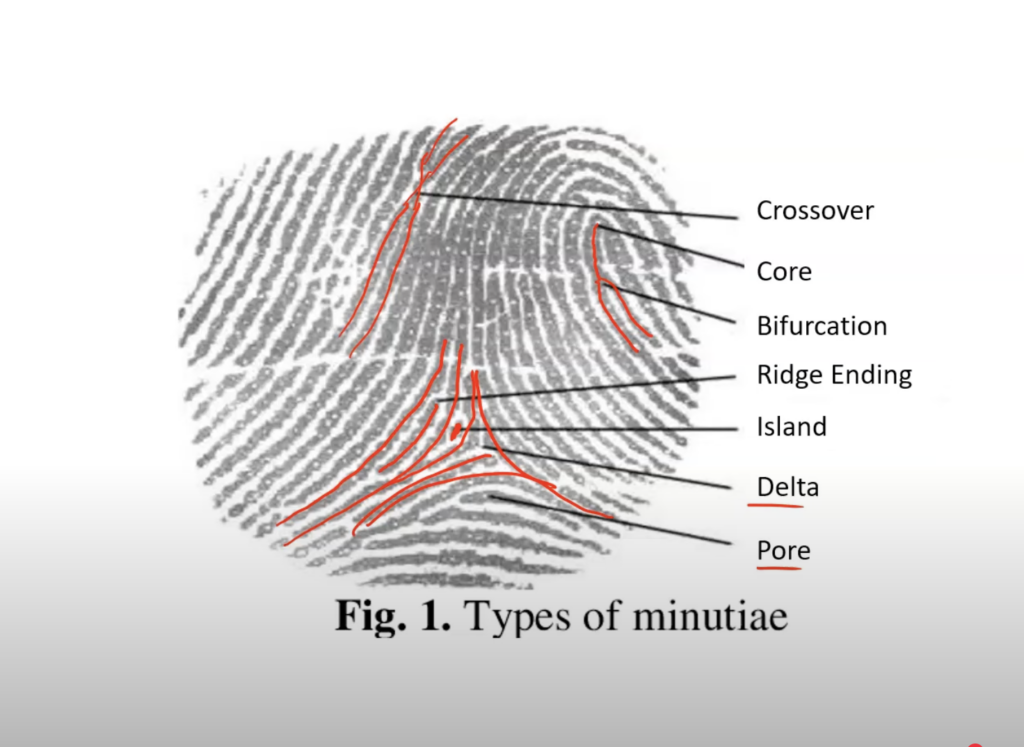
Instructions (Part I): To better understand the process of obtaining fingerprints, obtain a fingerprint card (as shown in the example below) and collect your own prints using the materials provided. Click here for instructions on how to obtain your own fingerprints if needed.

Instructions (Part II): Use the method shown in the videos below to lift the fingerprint from the provided acrylic square and transfer it onto the provided index card.